After you have completed your upside down drawing, we will begin working on the following drawings.
Pre-instruction drawing #1: “A Person, Drawn from Memory” (25 minutes)
1. Call up in your mind’s eye an image of a person—perhaps someone from the past, or someone you know now. Or you may recall a drawing you did in the past or a photograph of a person well known to you.
2. To the best of your ability, do a drawing of the person. You may draw just the head, a half-figure, or a full-length figure.
3. When you have finished, title, sign, and date your drawing in the lower right-hand corner-place this in your sketchbook using tape.
Pre-instruction drawing #2: “My Hand” (20 minutes)
1. Seat yourself at a table to draw.
2. If you are right-handed, draw your left hand in whatever position you choose. If you are left-handed, of course, draw your right hand.
3. Title, sign, and date your drawing.
Pre-instruction drawing #3: Self-Portrait (45 minutes)
Your “Self-Portrait”
1. Take a selfie with your telephone. Make sure your entire head is in the frame, and don't look up or look down to take the selfie. No "duck faces" either. Just look directly at the camera and take your own picture. Get a friend to help if you like.
2. Look at the image and draw your “Self-Portrait.”
3. When you have finished, title, sign, and date your drawing.
When you have finished the pre-instruction drawings: Spread the three drawings out on a table and look at them closely. look for small areas of the drawings that show that you were looking carefully—perhaps the way a collar turns or a beautifully observed curve of an eyebrow or ear. These are indications that you will learn the skill of drawing very well. You, on the other hand and at this time may find nothing admirable and perhaps may dismiss the drawings as “childish” or “amateurish.” Remind yourself that you made these drawings before instruction. On the other hand, you may be surprised and pleased with your drawings, or parts of them, perhaps especially the drawing of your hand. The “Drawing from Memory” is probably going to be the least successful of the three, and that is because you didn't have a visual reference. Drawing from the imagination or memory is the most difficult in the drawing process. It also forces us to resort to the symbols we have garnered up in our left brain.
Now we will begin the process of blind contour drawings. Remember there are three types of contour drawings ARE:
1. Blind Contour
2. Modified Blind contour AND continuous line blind contour
3. Contour Drawing (although this should be relatively the same as your Modified blind contour drawing. Meaning: you should be looking at the object more than looking at your paper)
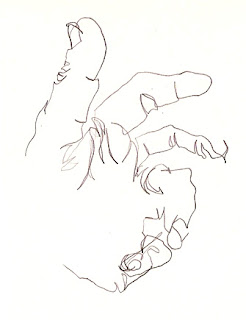
BLIND CONTOUR of hand with small object
Hold a small object- like pen or pencil- in your hand and do a BLIND CONTOUR drawing of it. DON'T CHEAT!! No looking at your paper until you are 100% done! It's going to look a bit silly, and that's ok! It's just an exercise :)
Remember to follow the outline slowly with your eyes and try to match that movement with your hand, this helps train your hand-eye coordination. Don't forget to draw all the little details, like finger nails and folds of skin!
CONTINUOUS CONTOUR of hand with large object
Hold your cell phone or a larger object in your hand and do a CONTINUOUS CONTOUR drawing of it. You can look at your paper now, but you still should be looking at your hand 90% of the time. Only glance down at your paper momentarily to check on your pencil placement. You cannot lift your pencil off the paper. You will have to do your entire drawing using only ONE LINE! Don't pick your pencil up off your paper until you are 100% done.

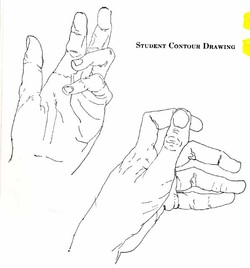
MODIFIED BLIND CONTOUR DRAWING Just as we completed a blind contour drawing of your hand earlier. Complete another drawing of your hand, but this time, you canlook at your drawing. You need to look closely at your hand at least 80 percent of the time and complete the modified blind contour drawing.
HOMEWORK: Over the weekend, complete the following
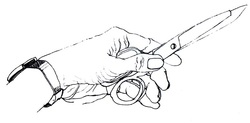
MODIFIED CONTOUR of hand holding scissorsThis time you will complete a modified contour drawing of your hand holding a pair of scissors. You may look at your paper about 10% of the time. You may pick up your pencil and use as many lines as you need. Make sure to include ALL details and go slowly!
MODIFIED CONTOUR of still life with shoes
Set up a still life (grouping) of shoes in front of you. Create a MODIFIED CONTOUR drawing of the shoes in pencil. Remember to look at the shoes more than your paper! Include all of the details. Remember that you can "indicate" lighter or darker shadow areas by varying your line thickness. For example, to indicate a shadow under the shoe, thicken up your line there.

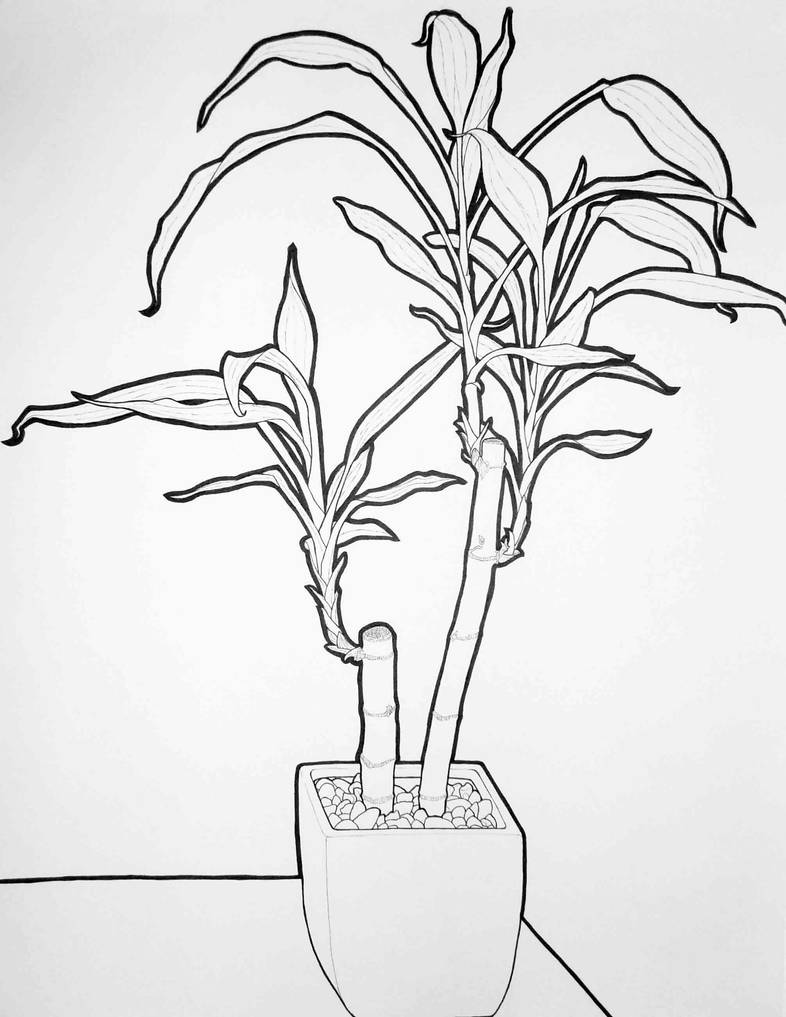
FINAL MODIFIED CONTOUR of plant still life
Your final contour line drawing will be a detailed drawing of a plant. Keeping your eyes on the plant more than your paper, complete your drawing in pencil. Go over your pencil drawing with pencil or thin marker to darken areas of importance.
Watch the video below and complete the drawing of a crumpled piece of paper:


No comments:
Post a Comment